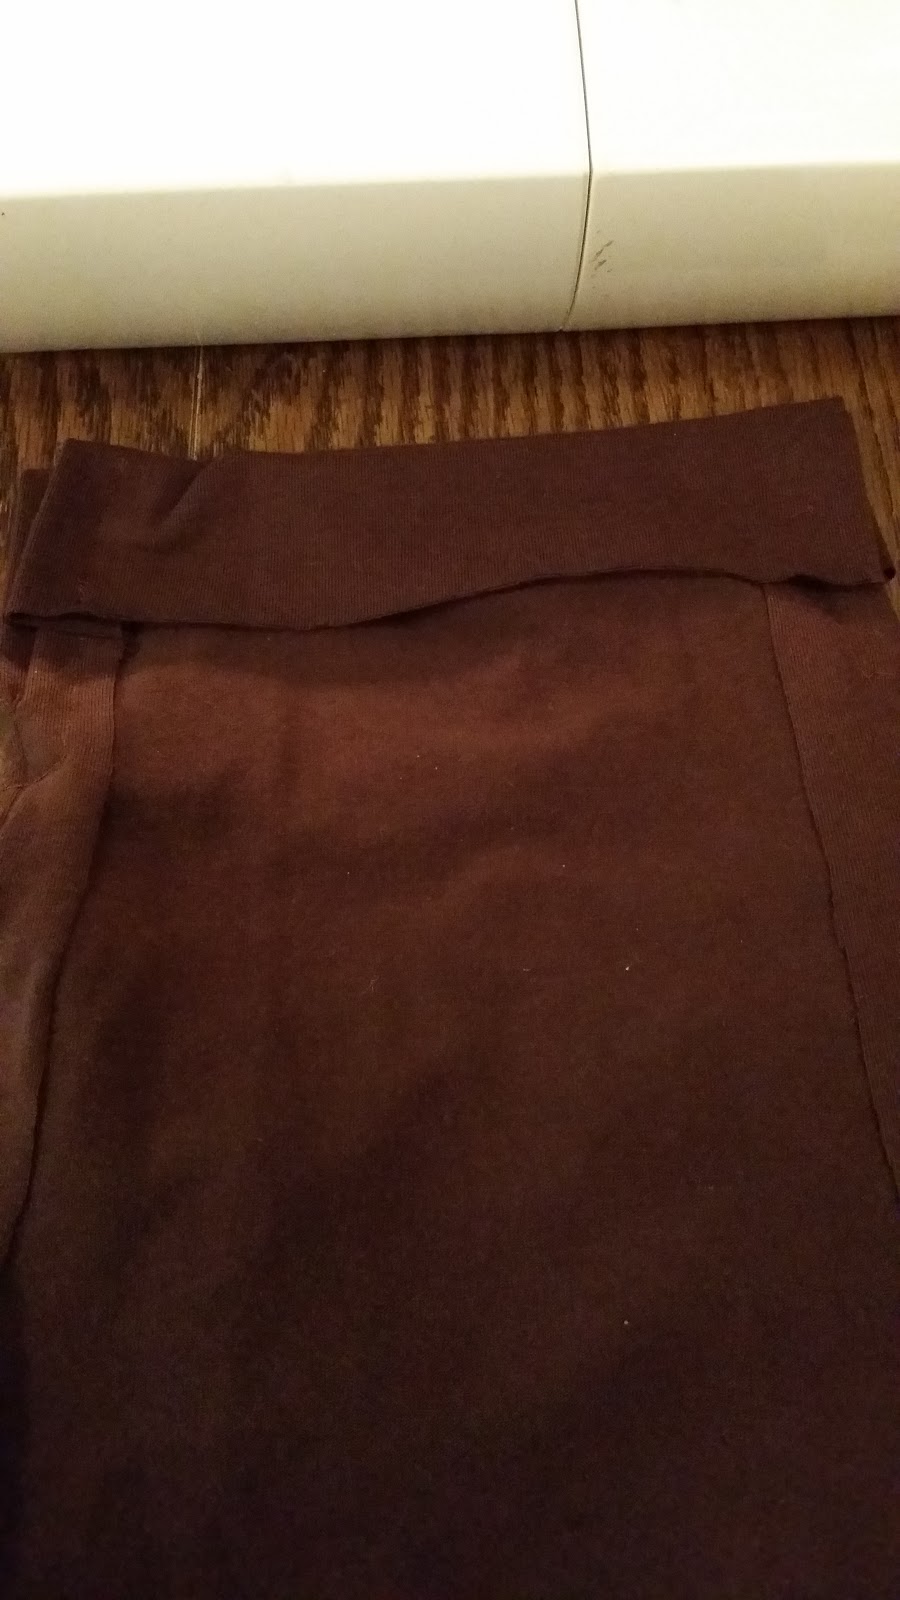
Meet Marie Grace with her best friend Ruthie's new car. Not only is she test driving Ruthie's new car, she's showing off her brand new dress as well. This dress was made out of her owner's old shirt, pictured below. It is a very simple pillow case style dress to make and I am going to show you how.
Get a plain piece of printer paper and make two dotted lines on each end about an inch in from each side. Make the dotted lines go up about 3 quarters of the way. See picture below. This will be your pattern. Next, cut out your material around this paper. I added a little extra at the top to mine because I wanted it to be longer.
Then, pin your material together inside out. Mark the lines on the fabric using the pattern that you made. Sew along the line, going 3 quarters of the way up from the bottom.
Now, fold back each top part along the seam where the arms are going to be. It's the part where you stopped sewing 3 quarters of the way up. Start at one end at the top and sew down, across, then back up.
Then, fold back the front top portion and the back top portion to make a hole so a ribbon can go through it. Sew each flap down remembering to leave the space for the ribbon.
Lastly, string your ribbon through the two top holes and there you have it. A very simple dress you can make out of your child's old clothes. This works well if there is a stain on the outfit and you can't donate or sell it or you just love the outfit and can't part with it. This one happened to have faint grease stains on it. I consider myself a beginner sewer and this was easy for me to complete within an hour. My girls love it and so does Marie Grace. If you like this post, check out my other post to see what I did with the leggings that go with this outfit.
Take care and I hope that this post will help you. Let me know what you think! Thanks
Until next time, see you soon!


No comments:
Post a Comment